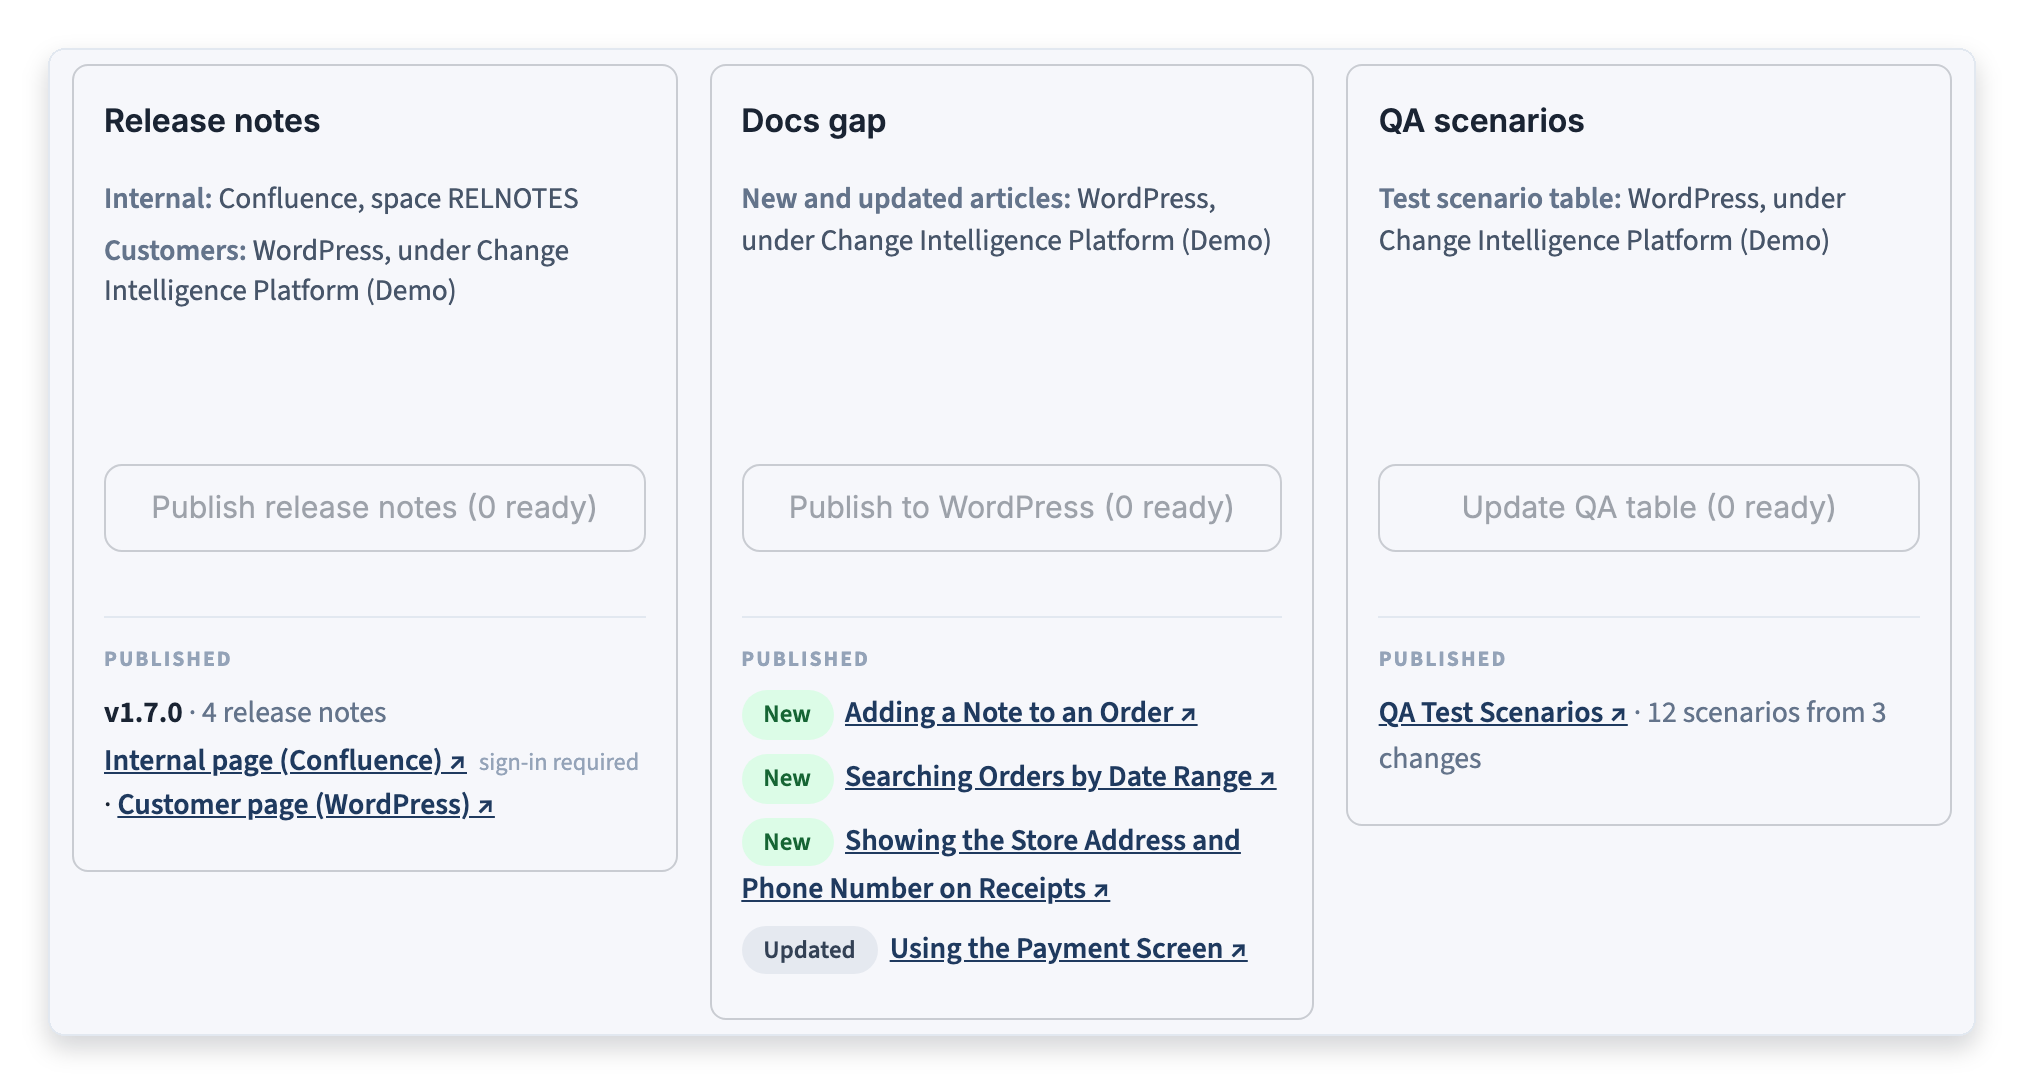
Publishing sends approved drafts to the destinations the product has chosen on the Config page. Only approved drafts are published: anything pending review or rejected stays on the Review page. Approved drafts with nothing to publish, such as a documentation decision of no action needed, are left alone.
The Publish page has one card for each kind of draft:
- Release notes: Where the internal and customer versions of the release notes go.
- Docs gap: Where help articles go, both added articles and updates to existing ones.
- QA scenarios: Where the table of test scenarios goes.
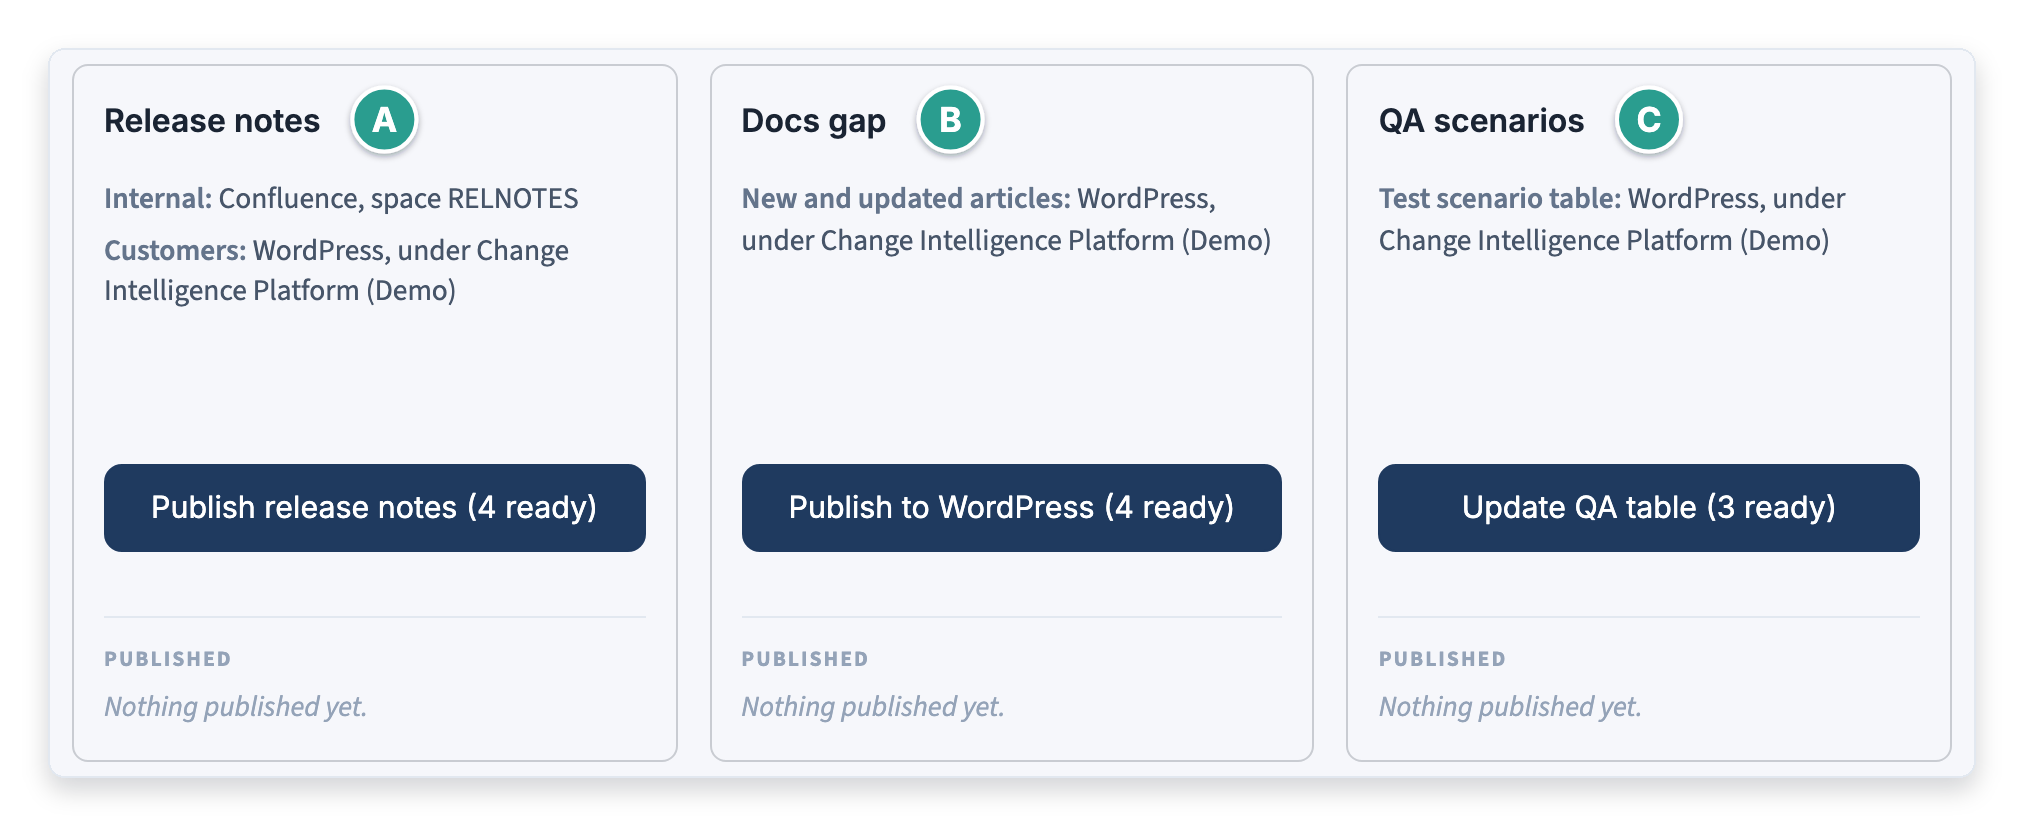
Each card's button shows how many approved drafts are ready, and the list under Published links to everything the card has already sent.
To publish release notes:
1. Click Publish

2. In Release, choose the release to publish. Each release cut appears under its own name, with the number of release notes ready

3. Click Publish release notes. The result appears at the top of the page, with a link to the published page
Note: Approved release notes that belong to no release cut are published by choosing Another name in Release and entering a name in Release name. Publishing again under the same name updates the same pages.
To publish documentation and QA scenarios:
1. Click the button on the Docs gap card. It names the destination and counts the documentation drafts that are ready
2. Click the button on the QA scenarios card to rebuild the table of test scenarios from every approved set
Note: A documentation draft whose screenshots are not all captured yet is not counted as ready. The Docs gap card lists it as waiting for screenshots, and it is published once every screenshot exists.
After publishing
The Published list on each card links to what was sent: the release's pages, each article with a chip saying whether it was added or updated, and the table of test scenarios.